8Bitplus Blog and Latest News
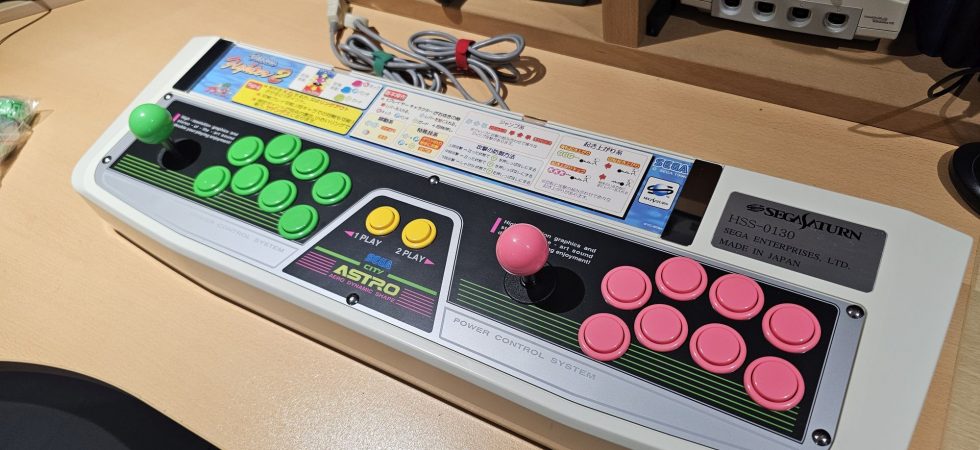
This was a job from last year, that I’m just getting around to upload photos for. This job was a request to install updated arcade Sanva buttons in the Sega Saturn Astro City HSS-0130 twin Joystick. It was my first...
Upgrading a Viper 1240 accelerator card from the 68040 processor to 68060. What’s involved? Parts needed, benchmarks, and screenshots follow. Also how well does it run Quake and Doom? I couldn’t help myself. Within weeks of getting my Viper 1240...
I recently acquired anther accelerator card for the Amiga 1200. This is the first Viper card I’ve tried and so far I’m very happy with how well it works. Click below to see the project page, Amiga Viper 1240 card...
Pokemon special edition N64 consoles in for RGB mods.
Just finished working on a Sega Nomad with a very bad display. Replaced caps and installed new IPS screen. Looks amazing now.
Something out of the ordinary. A NEC SuperGrafx on my workbench for a RGB mod and some other fixes.
Fixed a customer’s Sega Mega CD 2 that wouldn’t power on. Found a blown fuse, replaced it, and now it works great again. Ready to send it back!
This week, I installed the Hispeedido HDMI mod kit in a customers N64. The installation was straightforward,. While the picture quality is decent for the price, it lacks options compared to pricier alternatives.
Just finished assembling my Initial D arcade cabinet and it’s looking awesome! I went for the version 2 decals from Arcadeartrepro.com, and they turned out great. Installation was easy—just took my time to avoid bubbles. I also adapted the pedals and wired everything up to the I-PAC controller for smooth gameplay.
I’ve joined the digital microscope party, if there is such a thing. Honestly finding it easier for the tiny little solder points of this PS2 Slim. Even in cases where its not directly needed to do a solder, its great...
Time for some updates on the Sega Initial D cabinet I’ve been working on over this summer. Its now mostly complete, but I’ve just not had chance to document the progress. Continuing from where I left off, the next objective...


Recent Comments